Introduction
Emoji’s in Jira can really add a new level of customization and personalization to any system. Visual cues play a crucial role in conveying status, priority, and progress. Jira, a leading project management tool, offers powerful customization options to enhance visual representation within your workflows. One popular customization involves setting up red, yellow, and green stop-sign images as options for Jira fields, allowing teams to quickly assess the status of tasks or issues at a glance. In this guide, we’ll delve into the step-by-step process of configuring these visual indicators to optimize your Jira experience.
Simple Steps to Integrate
Step 1: Prepare Your Image Assets
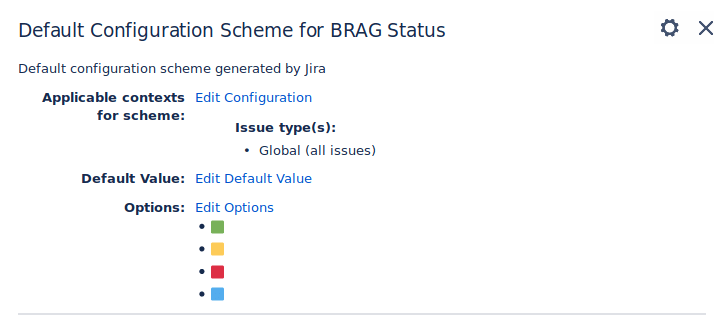
Before diving into Jira configuration, ensure that you have a select list field created and Emoji’s ready to paste in as options. For this demo we’re using colored square Emoji’s without text.
Follow this link here to select some Emoji’s or feel free to create your own.
These images should be appropriately sized and formatted to fit seamlessly within Jira’s interface. You can create or source these images from various design tools or image repositories.
Step 2: Configure the Field Options
Navigate to your Jira instance and access the administration settings. From the administration menu, select “Issues” and then “Field Configurations.” Choose the field configuration associated with the field where you want to add visual indicators. Next, locate the custom field where you intend to incorporate the stop-sign images. Click on the field to edit its configuration.
Within the field configuration settings, locate the option for field values or options. Here, you’ll be able to define the list of values available for selection in the field. Add new values corresponding to the desired status indicators, such as “Red,” “Yellow,” and “Green.” For each value, upload the respective stop-sign image as its associated icon or avatar. Ensure that the images are correctly linked and displayed in the field options.
Make sure you copy and paste the filed as it was regular text.
Step 3: Test and Iterate
Once you’ve configured the field options with the stop-sign images, assign the updated field configuration to the relevant Jira projects. This ensures that the visual indicators are available for use within the designated projects. Navigate to the project settings and associate the field configuration with the appropriate issue types and screens. Make sure to do a test run to make sure the function is created as intended.


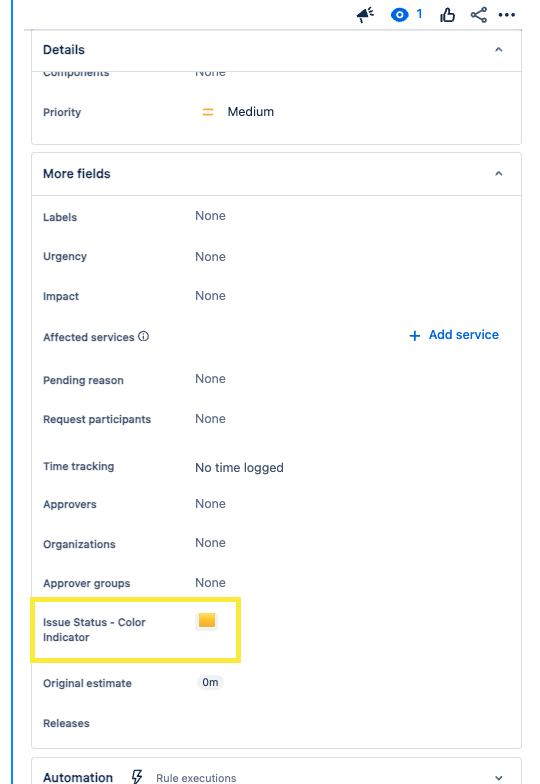
It is as easy as that! Now you have color fields that could be selected by your team as a visual aid.
Conclusion:
By implementing red, yellow, and green stop-sign images as options for Jira fields, teams can enhance workflow visualization and improve communication and decision-making processes. These visual indicators provide instant insights into the status and priority of tasks or issues, empowering teams to prioritize effectively and take prompt action when needed. Follow the steps outlined in this guide to set up visual indicators in your Jira instance and unlock the full potential of visual communication within your projects.
If you found this useful check out this article too!
Thanks for visiting, click here to learn more about out our Atlassian Cloud Services!
